Super-charge Your SaaS & LLM Workflows
Part 2: Running Apache Airflow Locally
Overview
By the end of this post, you'll have Apache Airflow running locally, ready to start building your own workflows. While you could run it directly on your host machine, the setup provided here will use Docker so you can seamlessly go to production with it in Part 5.
Skip to Part 3: Working with DAGs →Table of Contents
Prerequisites
You'll need the following software to follow along in this and later parts of the series:
- Git
- Docker / Docker Desktop
- Docker Compose

Quickstart
Run the following commands to get started:
git clone https://gitlab.com/voxos.ai/how-to-flow.git
cd how-to-flow/services/backend

# On Linux/MacOS:
export AIRFLOW_WWW_USER_USERNAME=admin
export AIRFLOW_WWW_USER_PASSWORD=password
export ADMIN_EMAIL=example@voxos.ai

# On Windows:
set AIRFLOW_WWW_USER_USERNAME=admin
set AIRFLOW_WWW_USER_PASSWORD=password
set ADMIN_EMAIL=example@voxos.ai

docker compose up # or docker-compose up
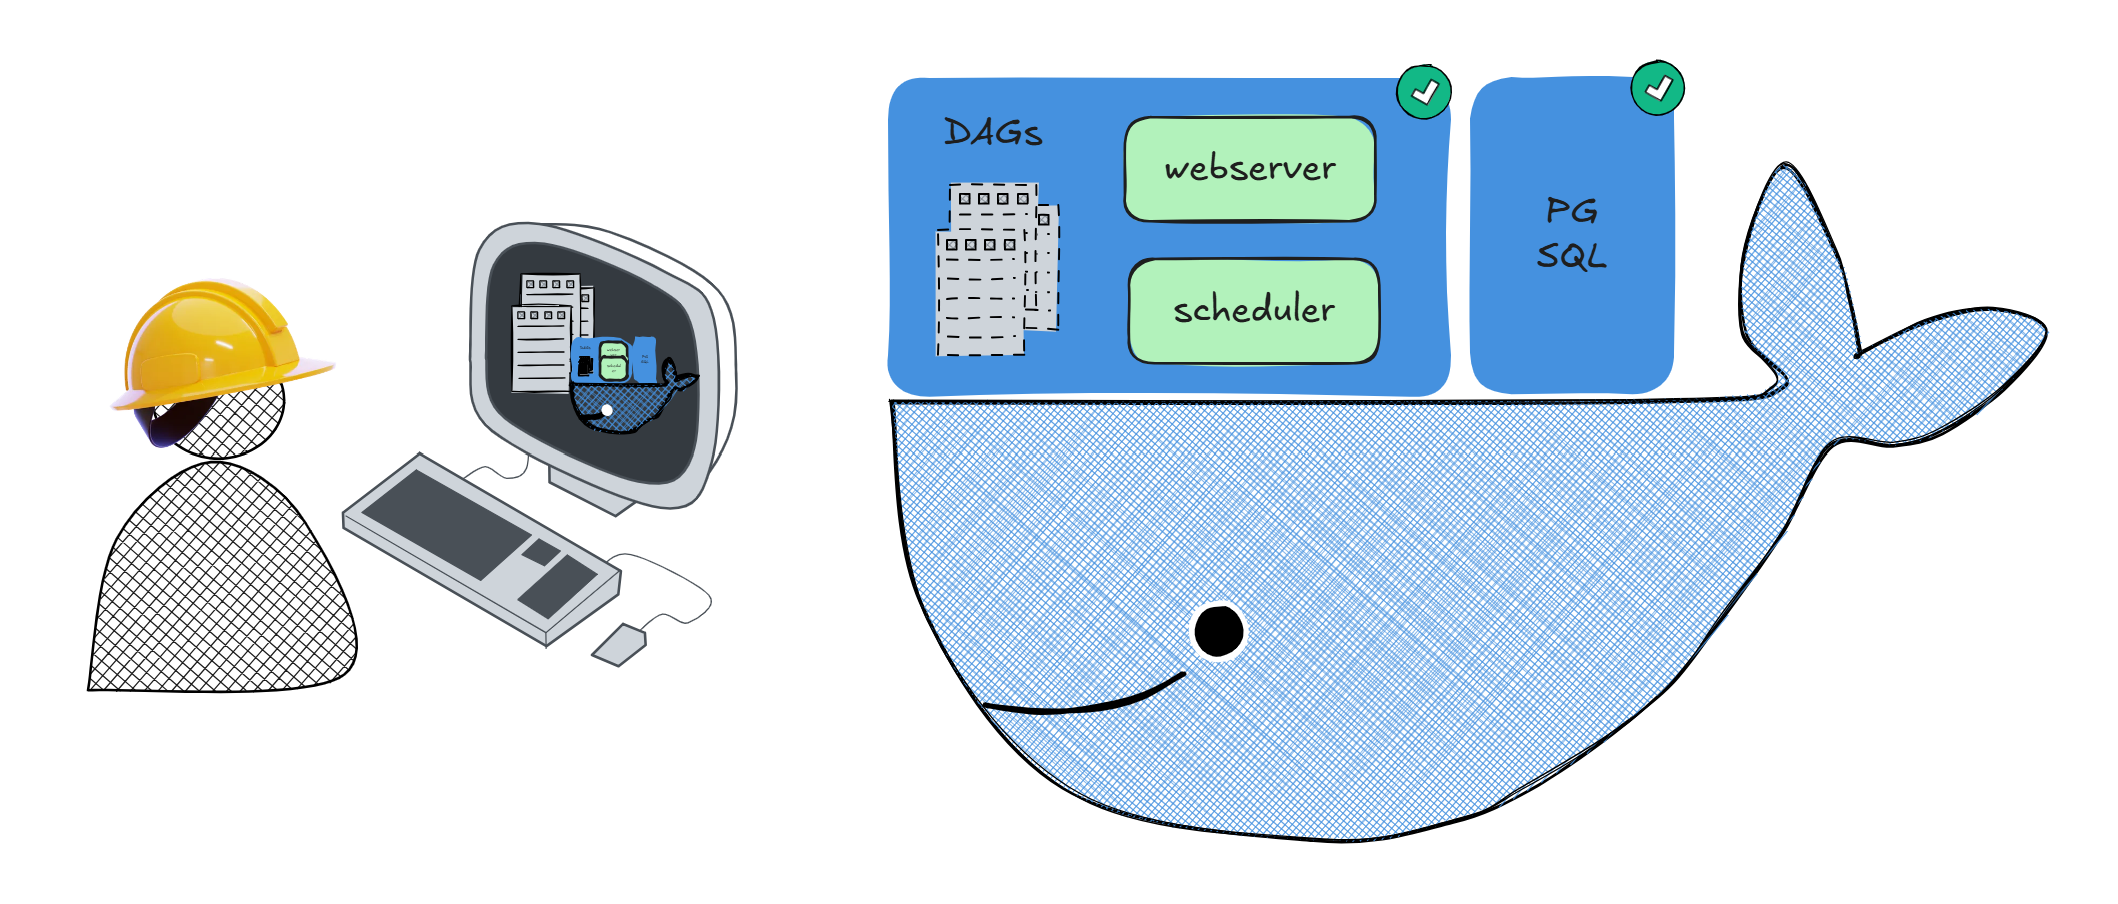
This will launch two containers: one running the Airflow webserver and scheduler, and the other running the Postgres database that will contain Airflow's metadata.
Initial startup could take a few minutes. To avoid rebuilding the container each time you make changes, a volume mount is set up between your host machine's dags folder and the container's dags folder.
While you wait, let's review the components of this Airflow setup.
Code Review
I've prepared a Dockerfile, docker-compose file, and a sequential DAG that you'll use in this and future parts of the series.
Development Configuration
The configuration provided in this part is meant for local development and validation. For production deployments, you'll want to implement additional security measures, which I'll cover in Parts 4 and 5.
Project Structure
The project structure I've provided sets up a basic Airflow environment with a PostgreSQL database, a webserver, and a scheduler. It also includes a volume mount for the DAGs.
It's all defined in the services/backend/airflow folder. This specific folder structure is one I use for my personal projects and will make more sense as we go along in this and other series.
services/backend/airflow/
├── dags/           # Your DAG files live here
├── Dockerfile      # Multi-stage build for our Airflow image
├── entrypoint.sh   # Container startup script
└── requirements.txt # Python dependencies
Configuration Deep Dive
Let's take a look at each file and what it does:
Dockerfile
Here, I use a multi-stage build to keep the final image lean:
- The builder stage installs build dependencies and Python packages
- The final stage includes only runtime dependencies
- Sets up proper permissions for the Airflow user
docker-compose.yml
The compose file sets up two services:
- airflow-db: PostgreSQL database for Airflow metadata
- airflow: Combined webserver and scheduler container
Airflow Webserver
The webserver provides the UI for monitoring and managing your DAGs.
Airflow Scheduler
The scheduler is responsible for triggering workflow executions based on their defined schedules and manual events on the UI.

Key features include:
- Volume mounts for DAGs and logs persistence on the host machine
- Health checks for both docker compose services
- Simple executor configuration for the local development
Startup Scripts
The entrypoint script handles container initialization:
- entrypoint.sh: Initializes the database, creates the admin user, and starts Airflow services
requirements.txt
The base dependencies include:
- Core Airflow installation
- PostgreSQL provider for database connections
Conclusion
You now have a local Airflow environment running with Docker Compose. This setup provides a solid foundation for developing and testing your workflows before deploying them to production.
In Part 3, we'll dive into key parts of the Airflow UI and how to work with DAGs. I'll share best practices for maintaining, scalable, and production-ready DAGs from the start.